Are you looking to optimize your WordPress site for SEO? Well, it’s as easy as installing a plugin. In this article I will show you how to improve SEO on WordPress with the All In One SEO Pack plugin.
What Is the All In One SEO Pack?
A lot has changed in the world of SEO from the old-school tactics like keyword stuffing and spammy link-building techniques. But, while the SEO tactics are evolving, one core principal does remain constant. A successful SEO strategy to dominate search engines needs to start with solid on-site optimization.
WordPress is known to be SEO-friendly right out of the box and comes with a lot of useful built-in SEO functionality. But, if you are serious about optimizing your site’s search engine capabilities, you will want to check out the All In One SEO Pack plugin. It is a free search engine optimization plug-in that will enhance your site’s functionality.
Installing The Plugin
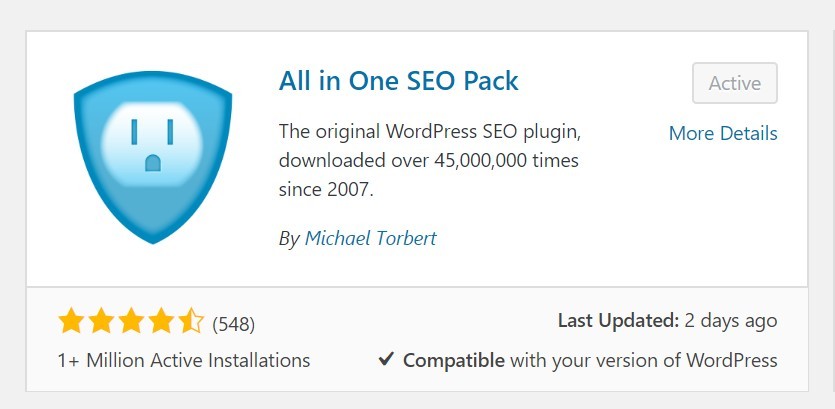
The first thing you need to do is install the plugin. Simply go to your WordPress dashboard and from the Plugin menu select Add New. Search for All In One SEO Pack. Click on Install and then Activate.
Configuring The Plugin
The next step is to configure the plugin. The All In One SEO Pack will start functioning as soon as you activate it but there are a few settings you will want to customize. Follow these easy step-by-step instructions to get set up.
General Settings
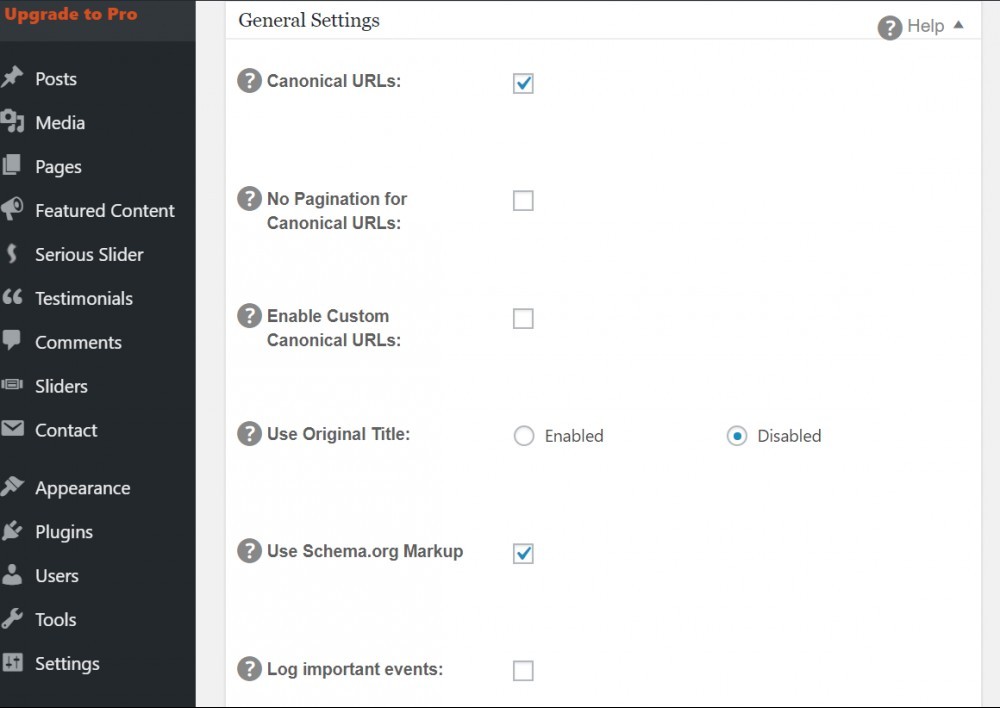
Go to All In One SEO > General Settings. You do not need to change any of the default General Settings. I would leave them as is.
Home Page Settings
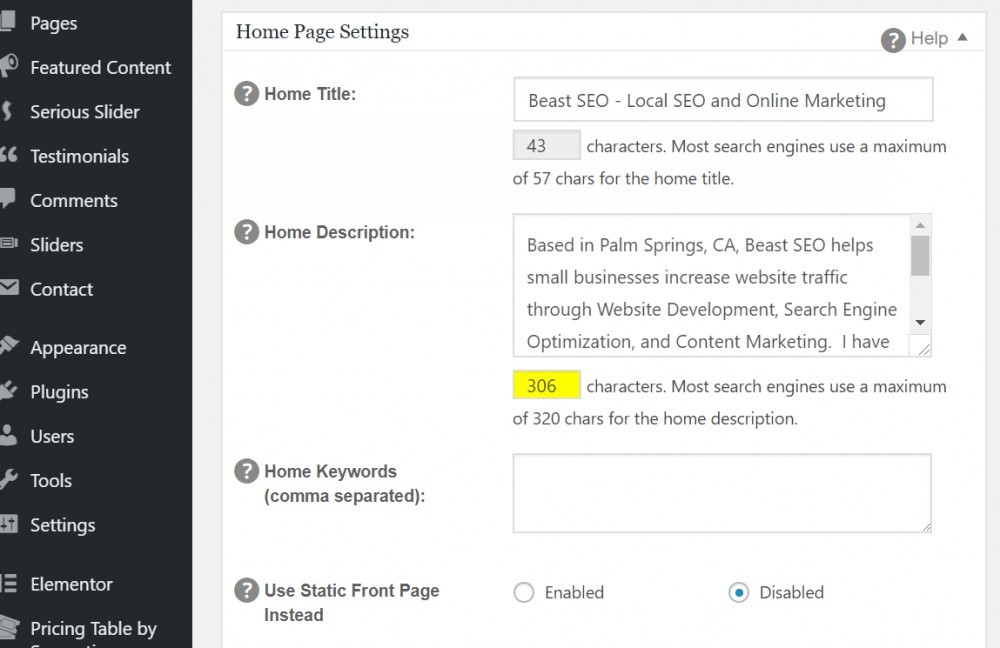
This section is pretty important to search engines so you will want to make sure to customize it for your site. It defines your Meta Title and Meta Description for your site. The meta title of your website gives people searching for your site, as well as search engines, a brief description of its content. It is visible at the top of the page tab in many web browsers. The meta title is a key component of SEO.
Fill in your Home Title. This is the title of your website, typically the name of your company. The more descriptive it is of your business the better.
Next, fill in the Home Description. This is the meta description of your website and will tell search engines what your site is all about. So, make sure it accurately describes your business, service, etc.
Title Settings
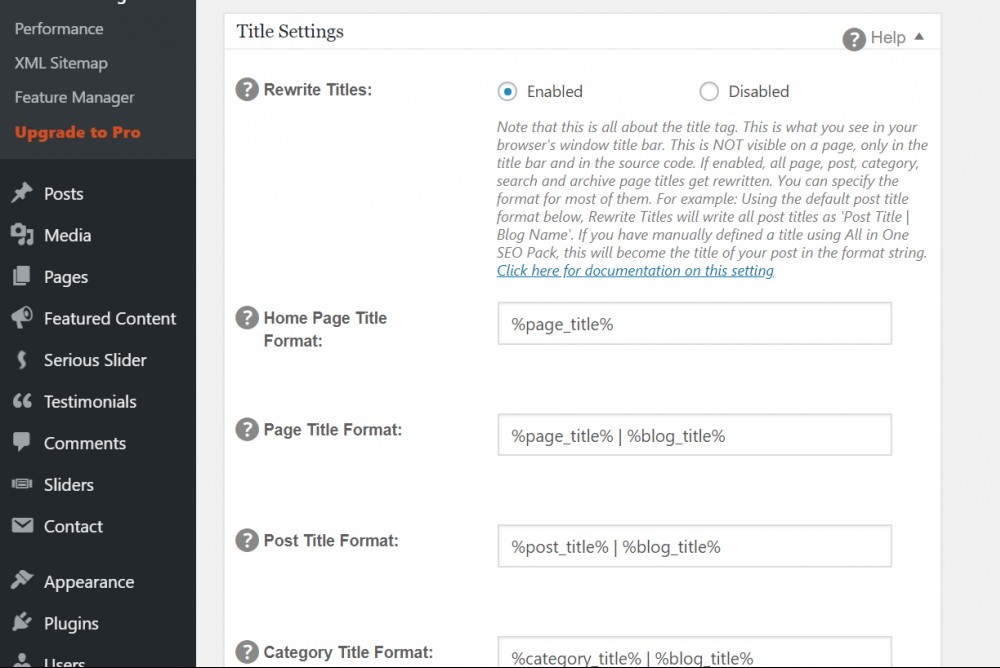
I would also leave these settings alone. These settings control the format of your page and post titles. If you don’t know what you’re doing, you can easily cause problems with the formatting of your titles. I would leave the default settings as is.
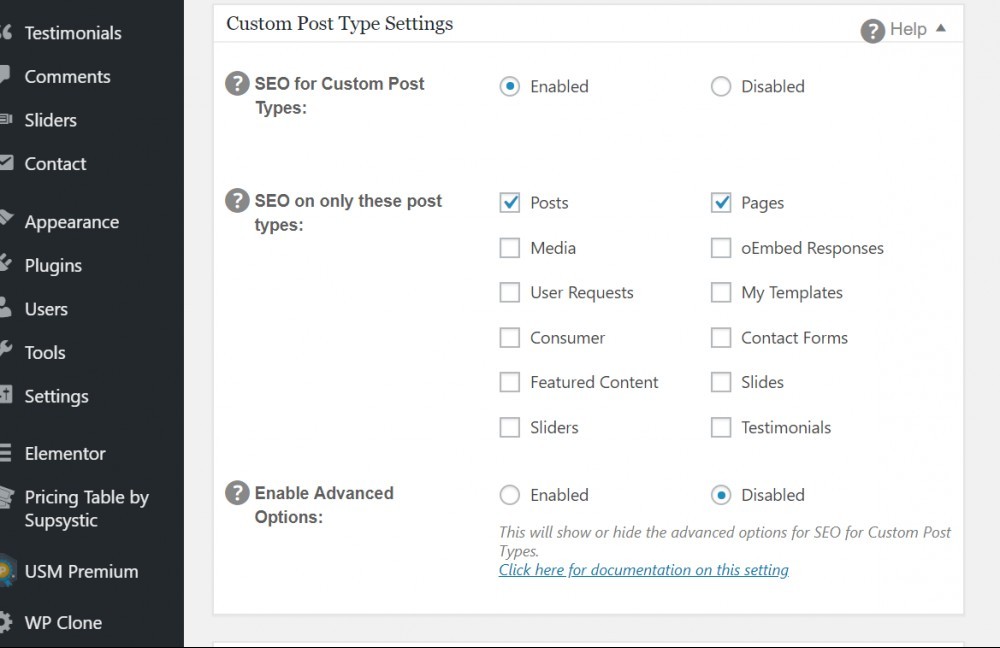
Custom Post Types
Configure these settings as you see below. Typically they come like this by default.
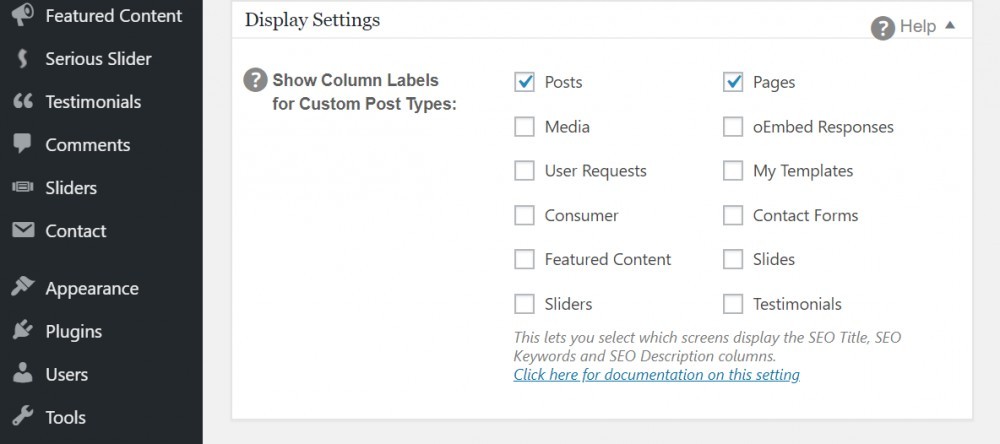
Display Settings
There is no need to change the default settings in this section either. I would leave as is.
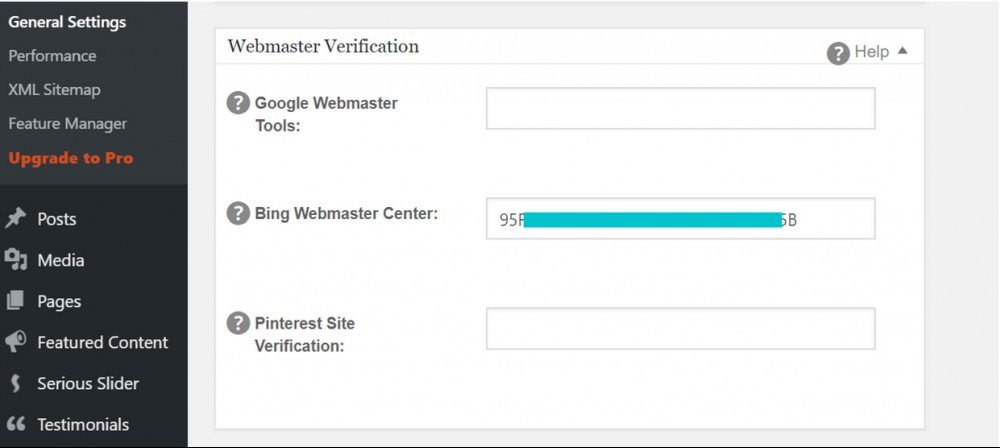
Webmaster Verification
This is a useful tool for SEO purposes. You can leave it blank for now. But, you will want to go to Google Webmaster Tools (which is now called Google Search Console), Bing Webmaster Tools, and Pinterest (if you use Pinterest) and verify your WordPress site on all three. All you need to do is submit your website to these three sites, grab the verification key and paste it in the respective boxes in your Webmaster Verification settings. It basically tells these search engines where your website is and is a little more SEO juice for your site.
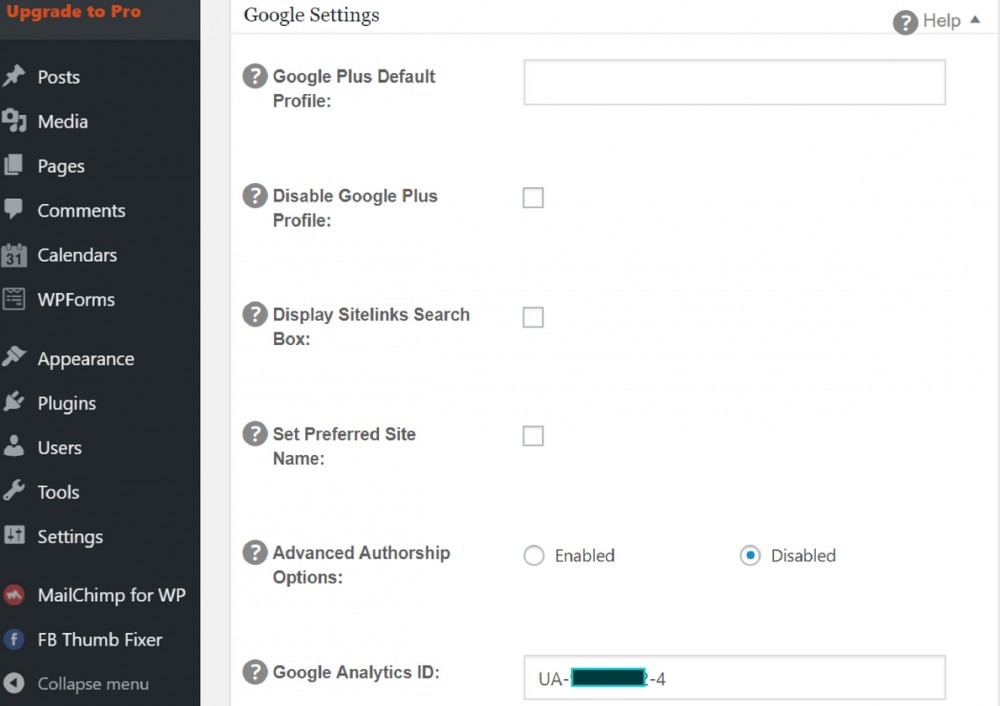
Google Settings
If you have a Google + profile you can add your Google + Profile ID in the first field. The other thing I would highly recommend doing is to add your Google Analytics ID in your Google Settings to enable Google Analytics tracking on your website. It will provide valuable information on who visits your site, what they do while on your site, etc. And, it will give you information to make data-driven decisions on changes to your site.
For more information check out my article on how to set up Google Analytics on WordPress.
No Index and Advanced Settings
I would recommend leaving the default settings in place for both of the next sections. There is nothing you need to change here.
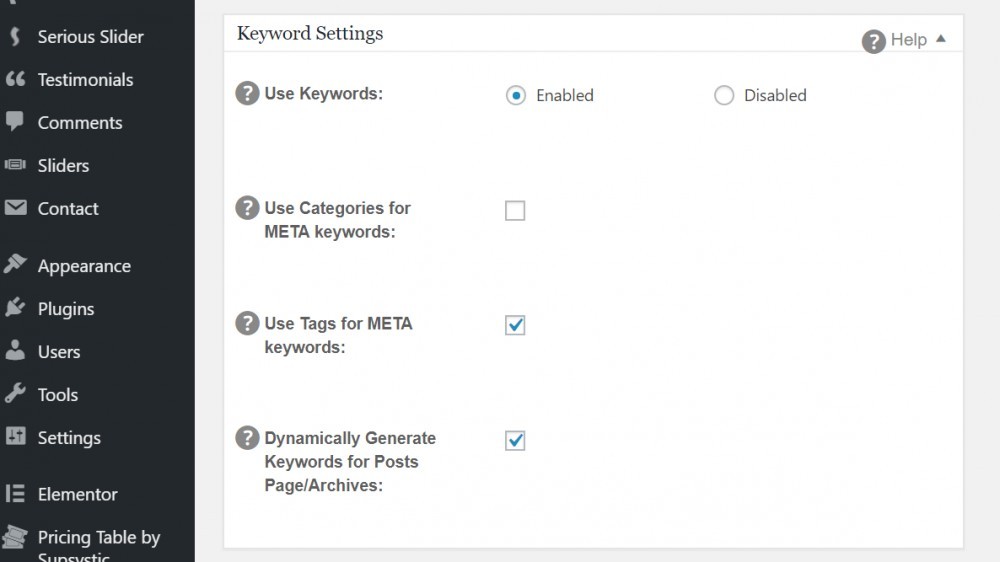
Keyword Settings
Make sure you enable the use of keywords in the keyword settings section. The rest you can leave as default settings.
Finally, click on the Update Options button at the bottom of the page to ensure your settings are saved.
Congratulations!
You now have the All In One SEO Pack installed and working behind the scenes for you to optimize SEO on your site. If you have any questions or comments please leave them in the comments section below and I will get back to you shortly. Thanks.
